In this guide, you’ll see how to complete your profile on Tableda by adding your logo, description, banner, and other key information to make it complete and professional.
Step 1: Access the dashboard
Log in to Tableda using your credentials.
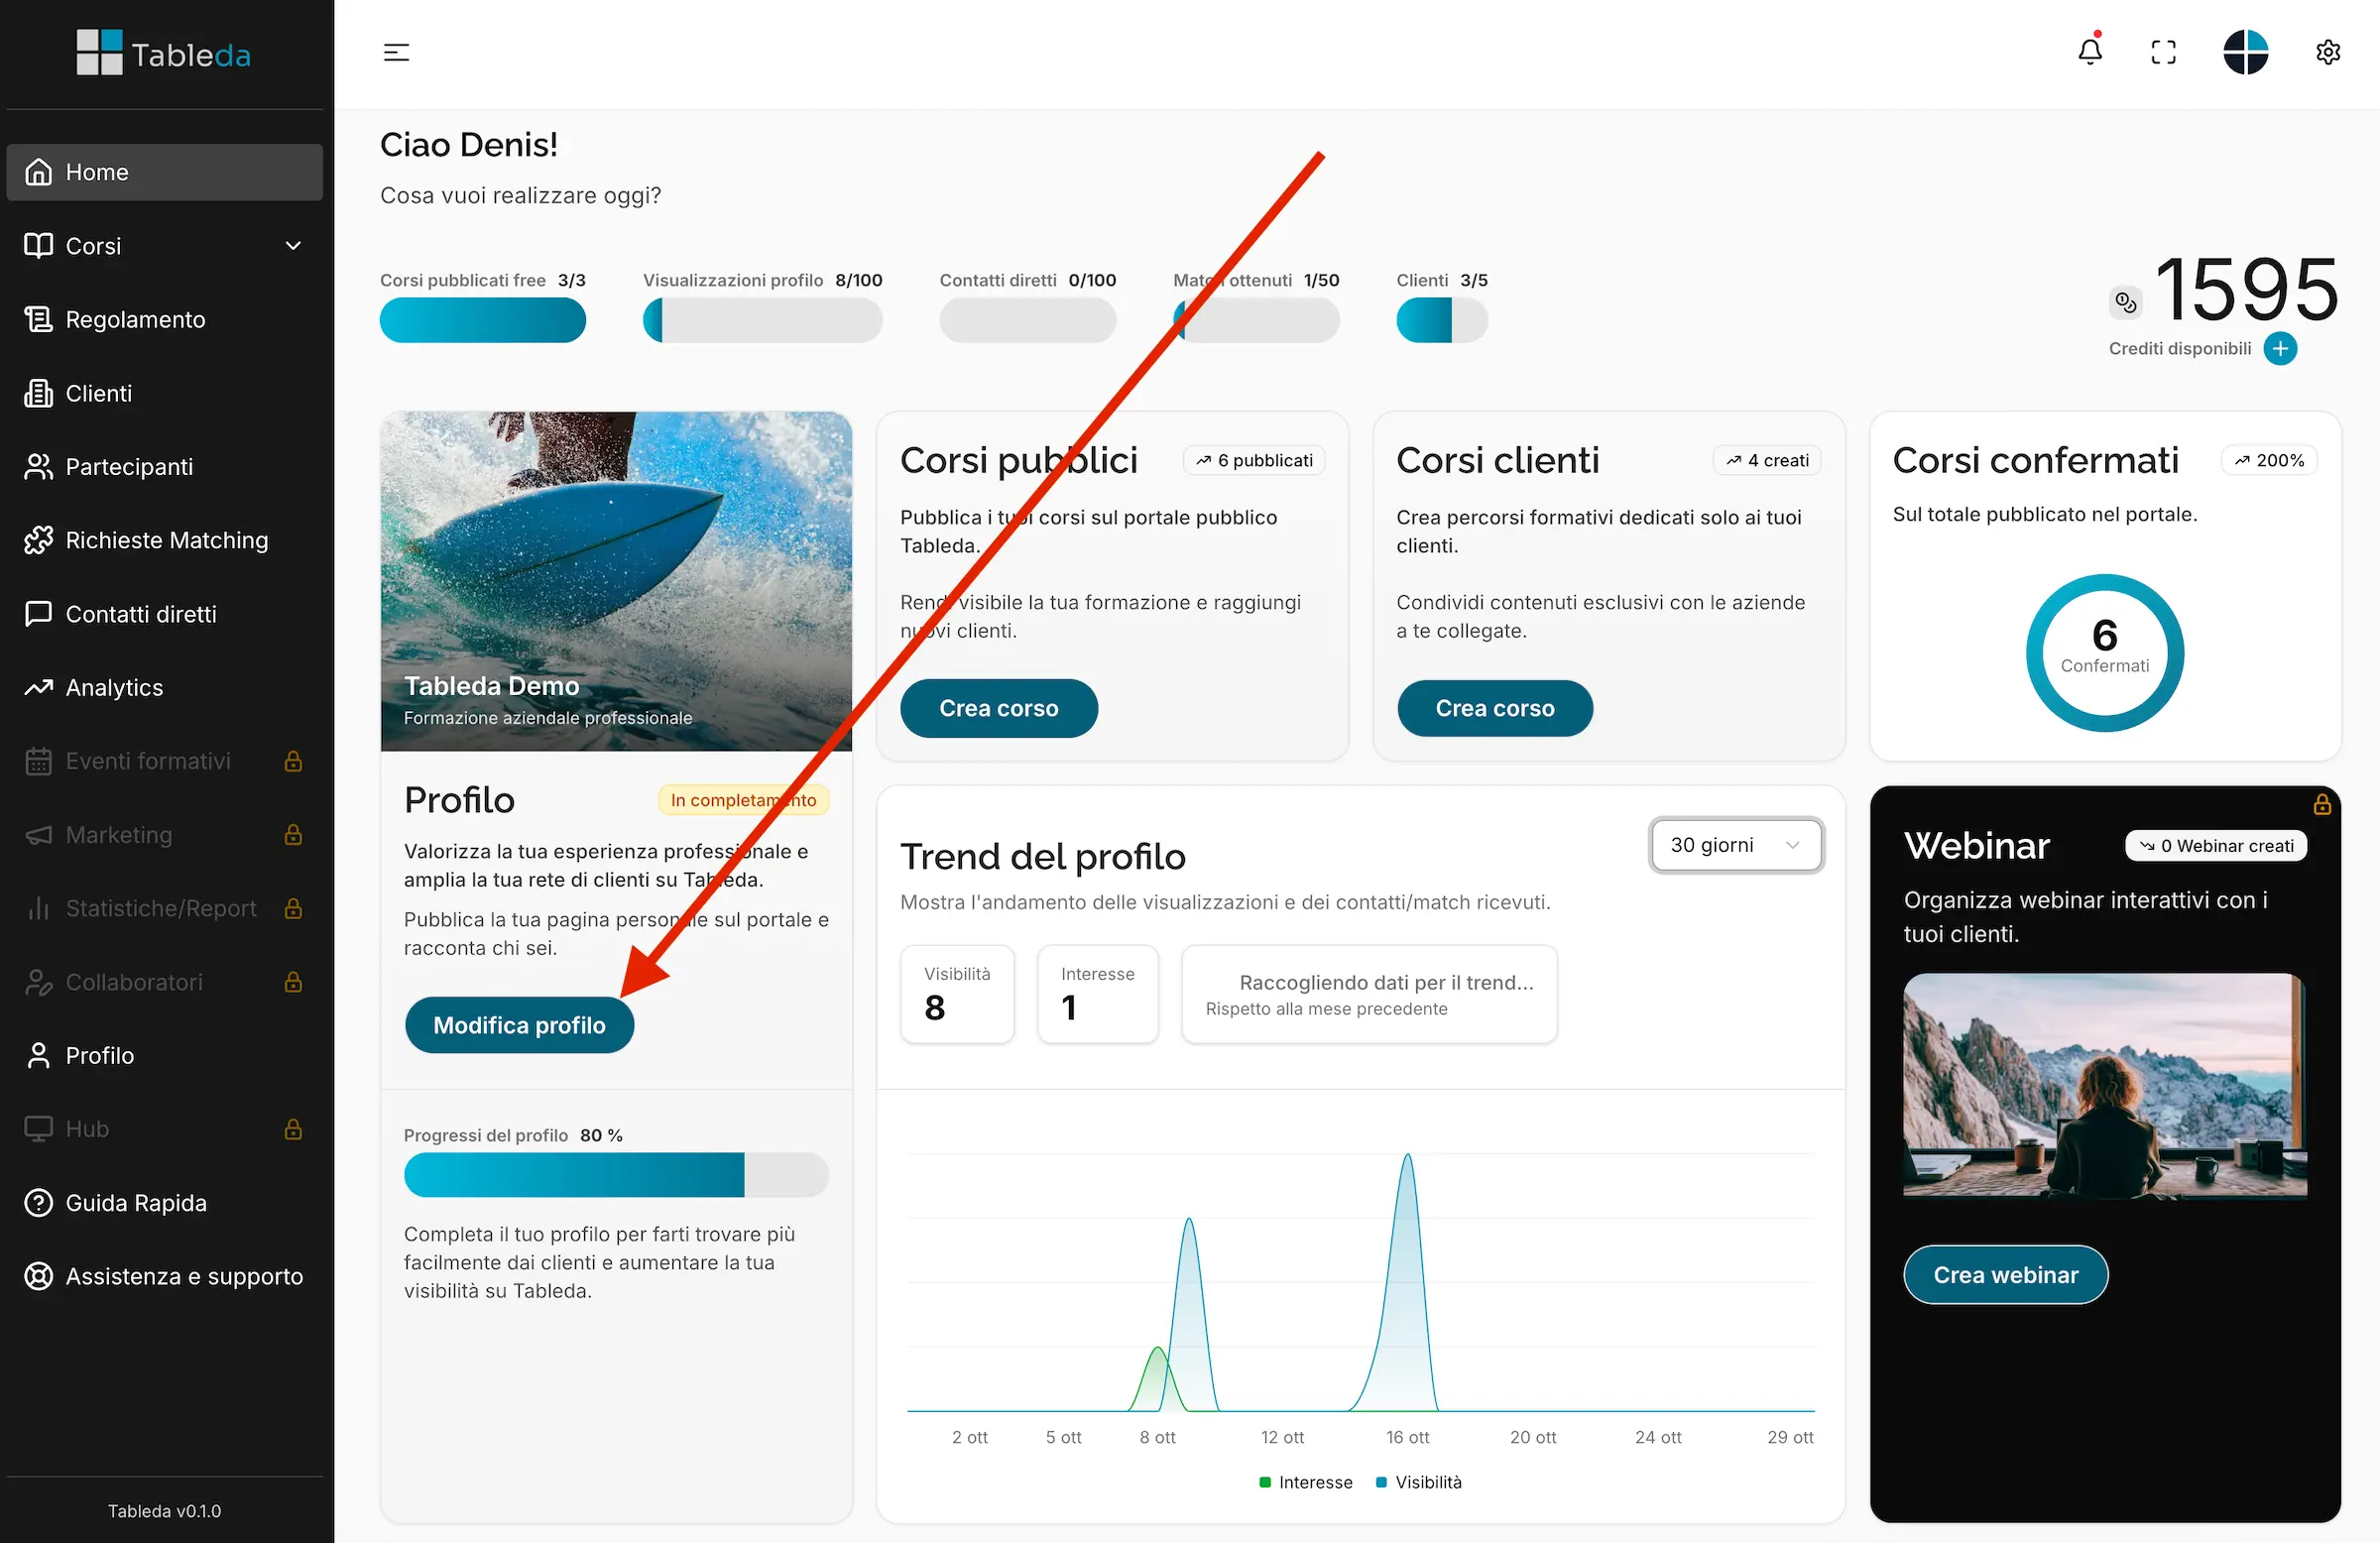
Once logged in, you’ll be redirected to your dashboard.
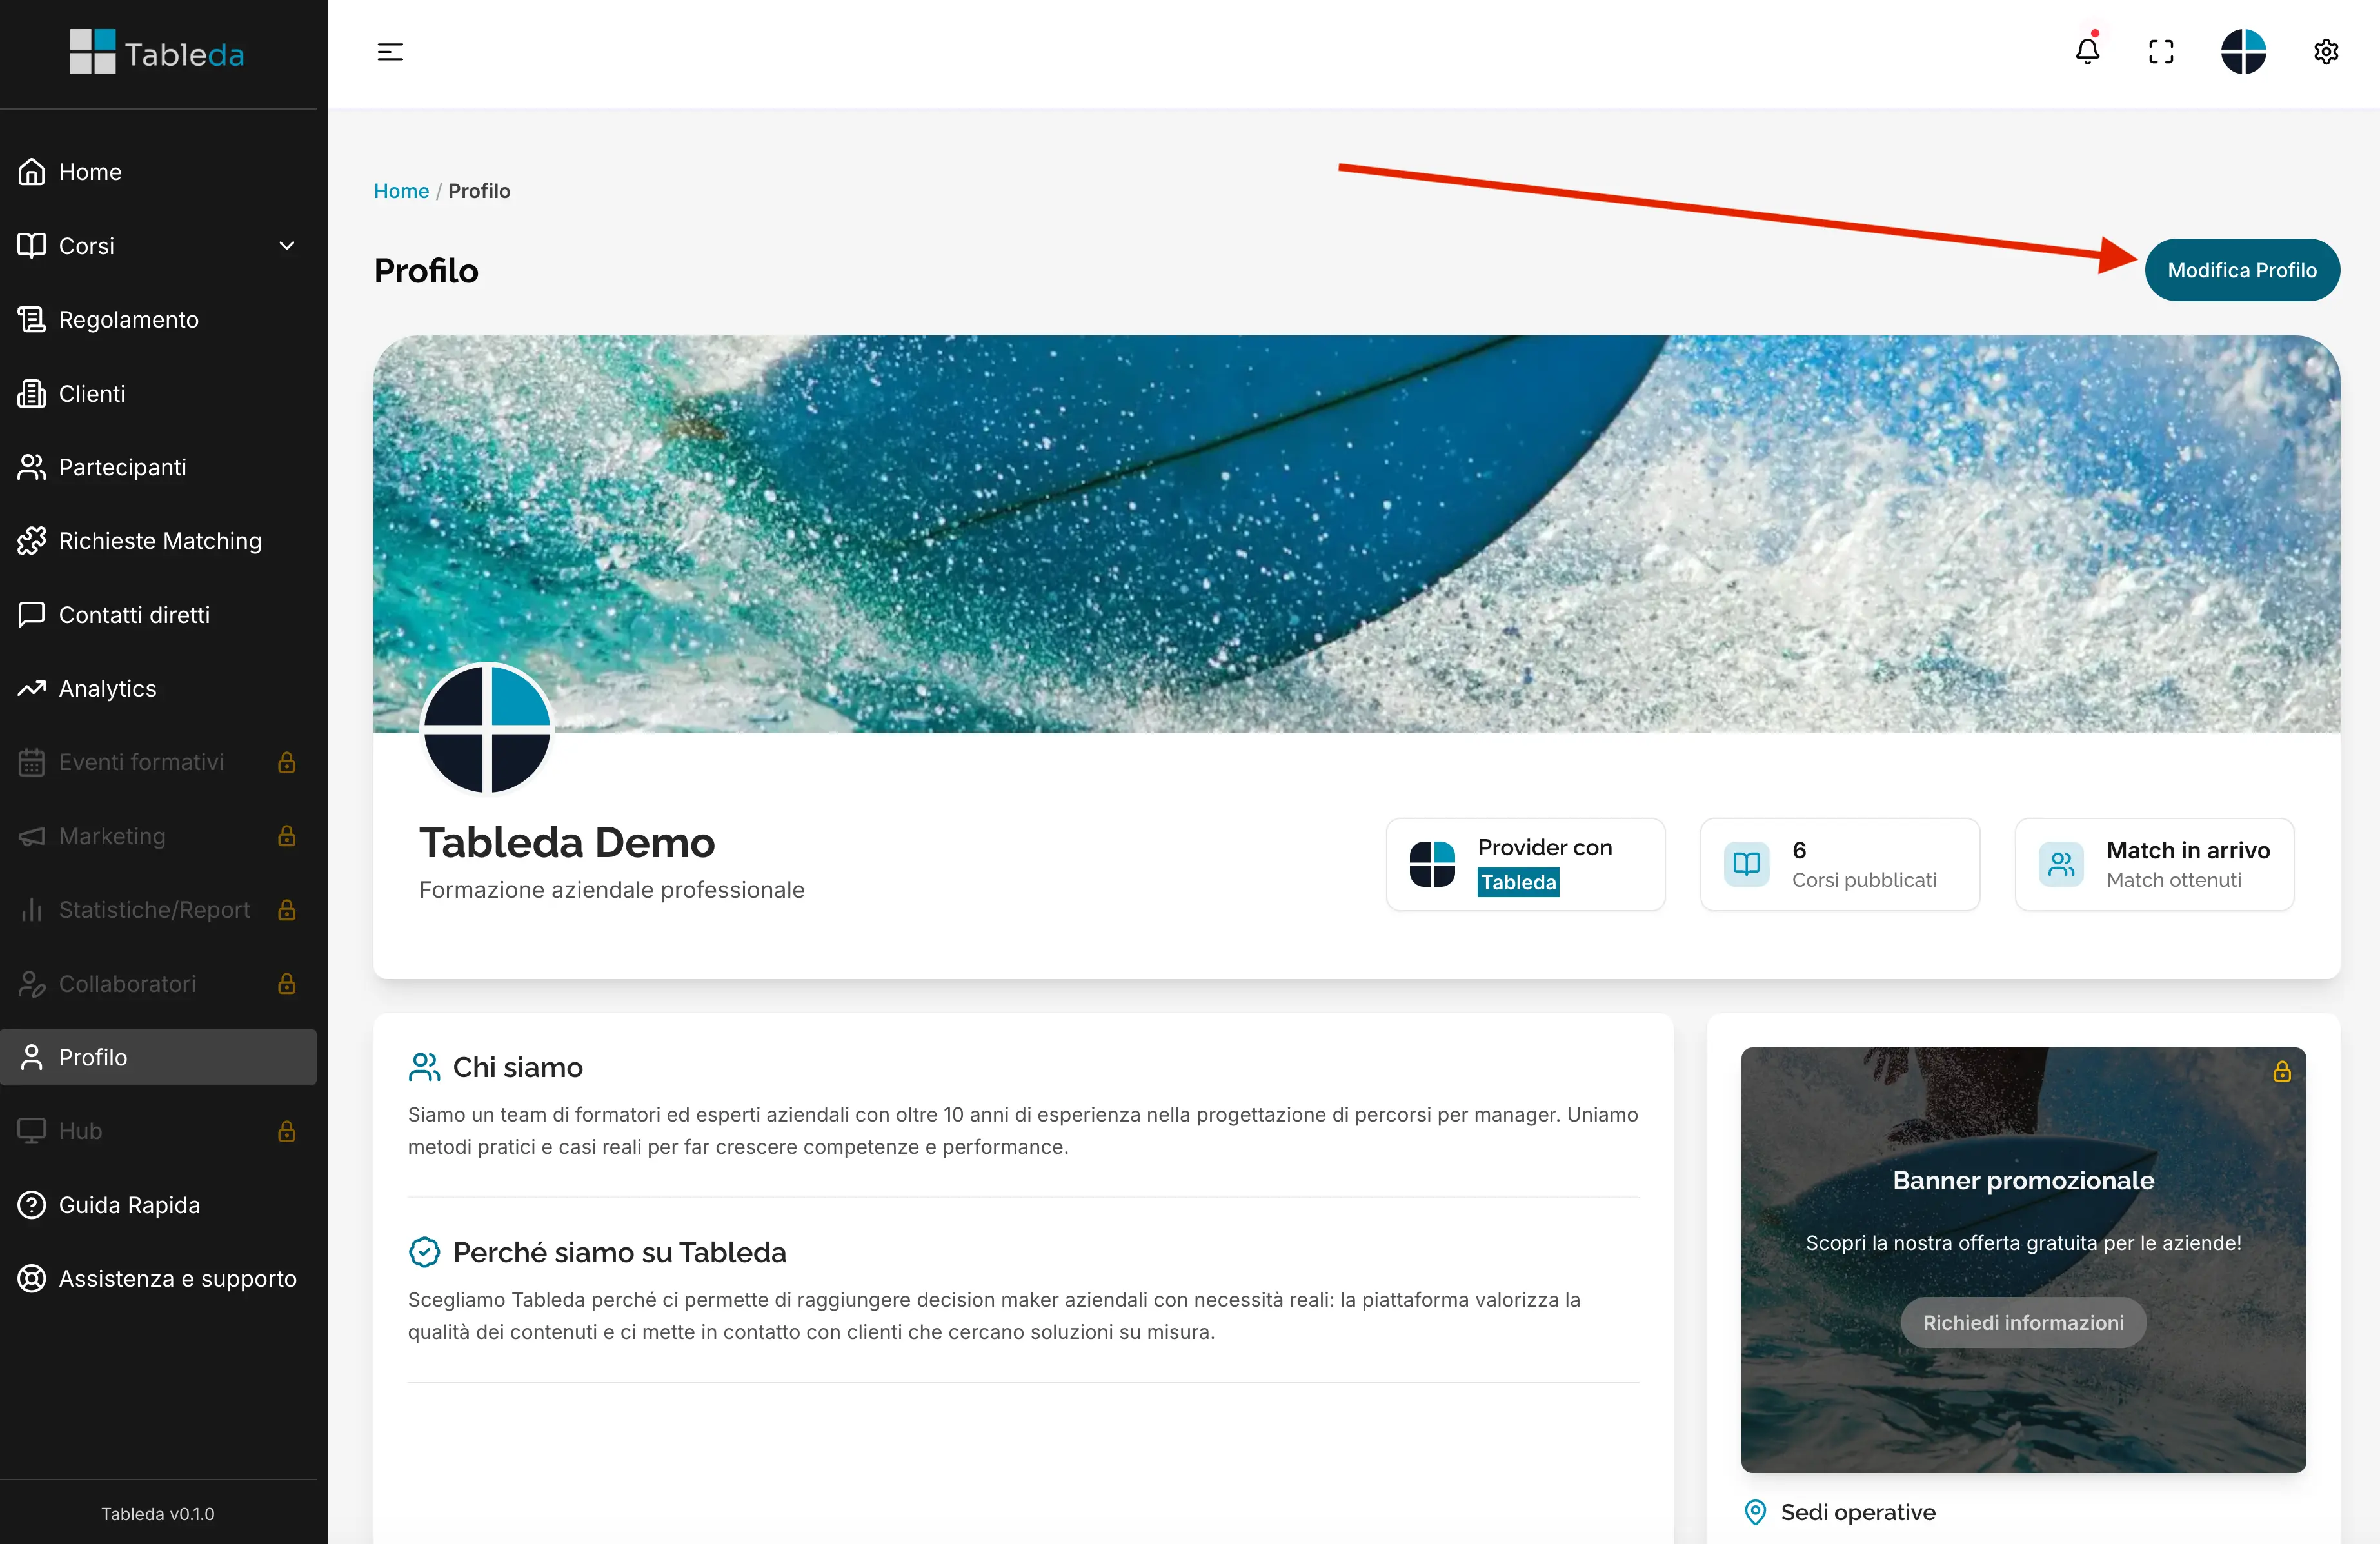
Step 2: Go to the Profile section
On the main dashboard page, click “Edit profile”.
Here you’ll find all the fields needed to configure your profile.
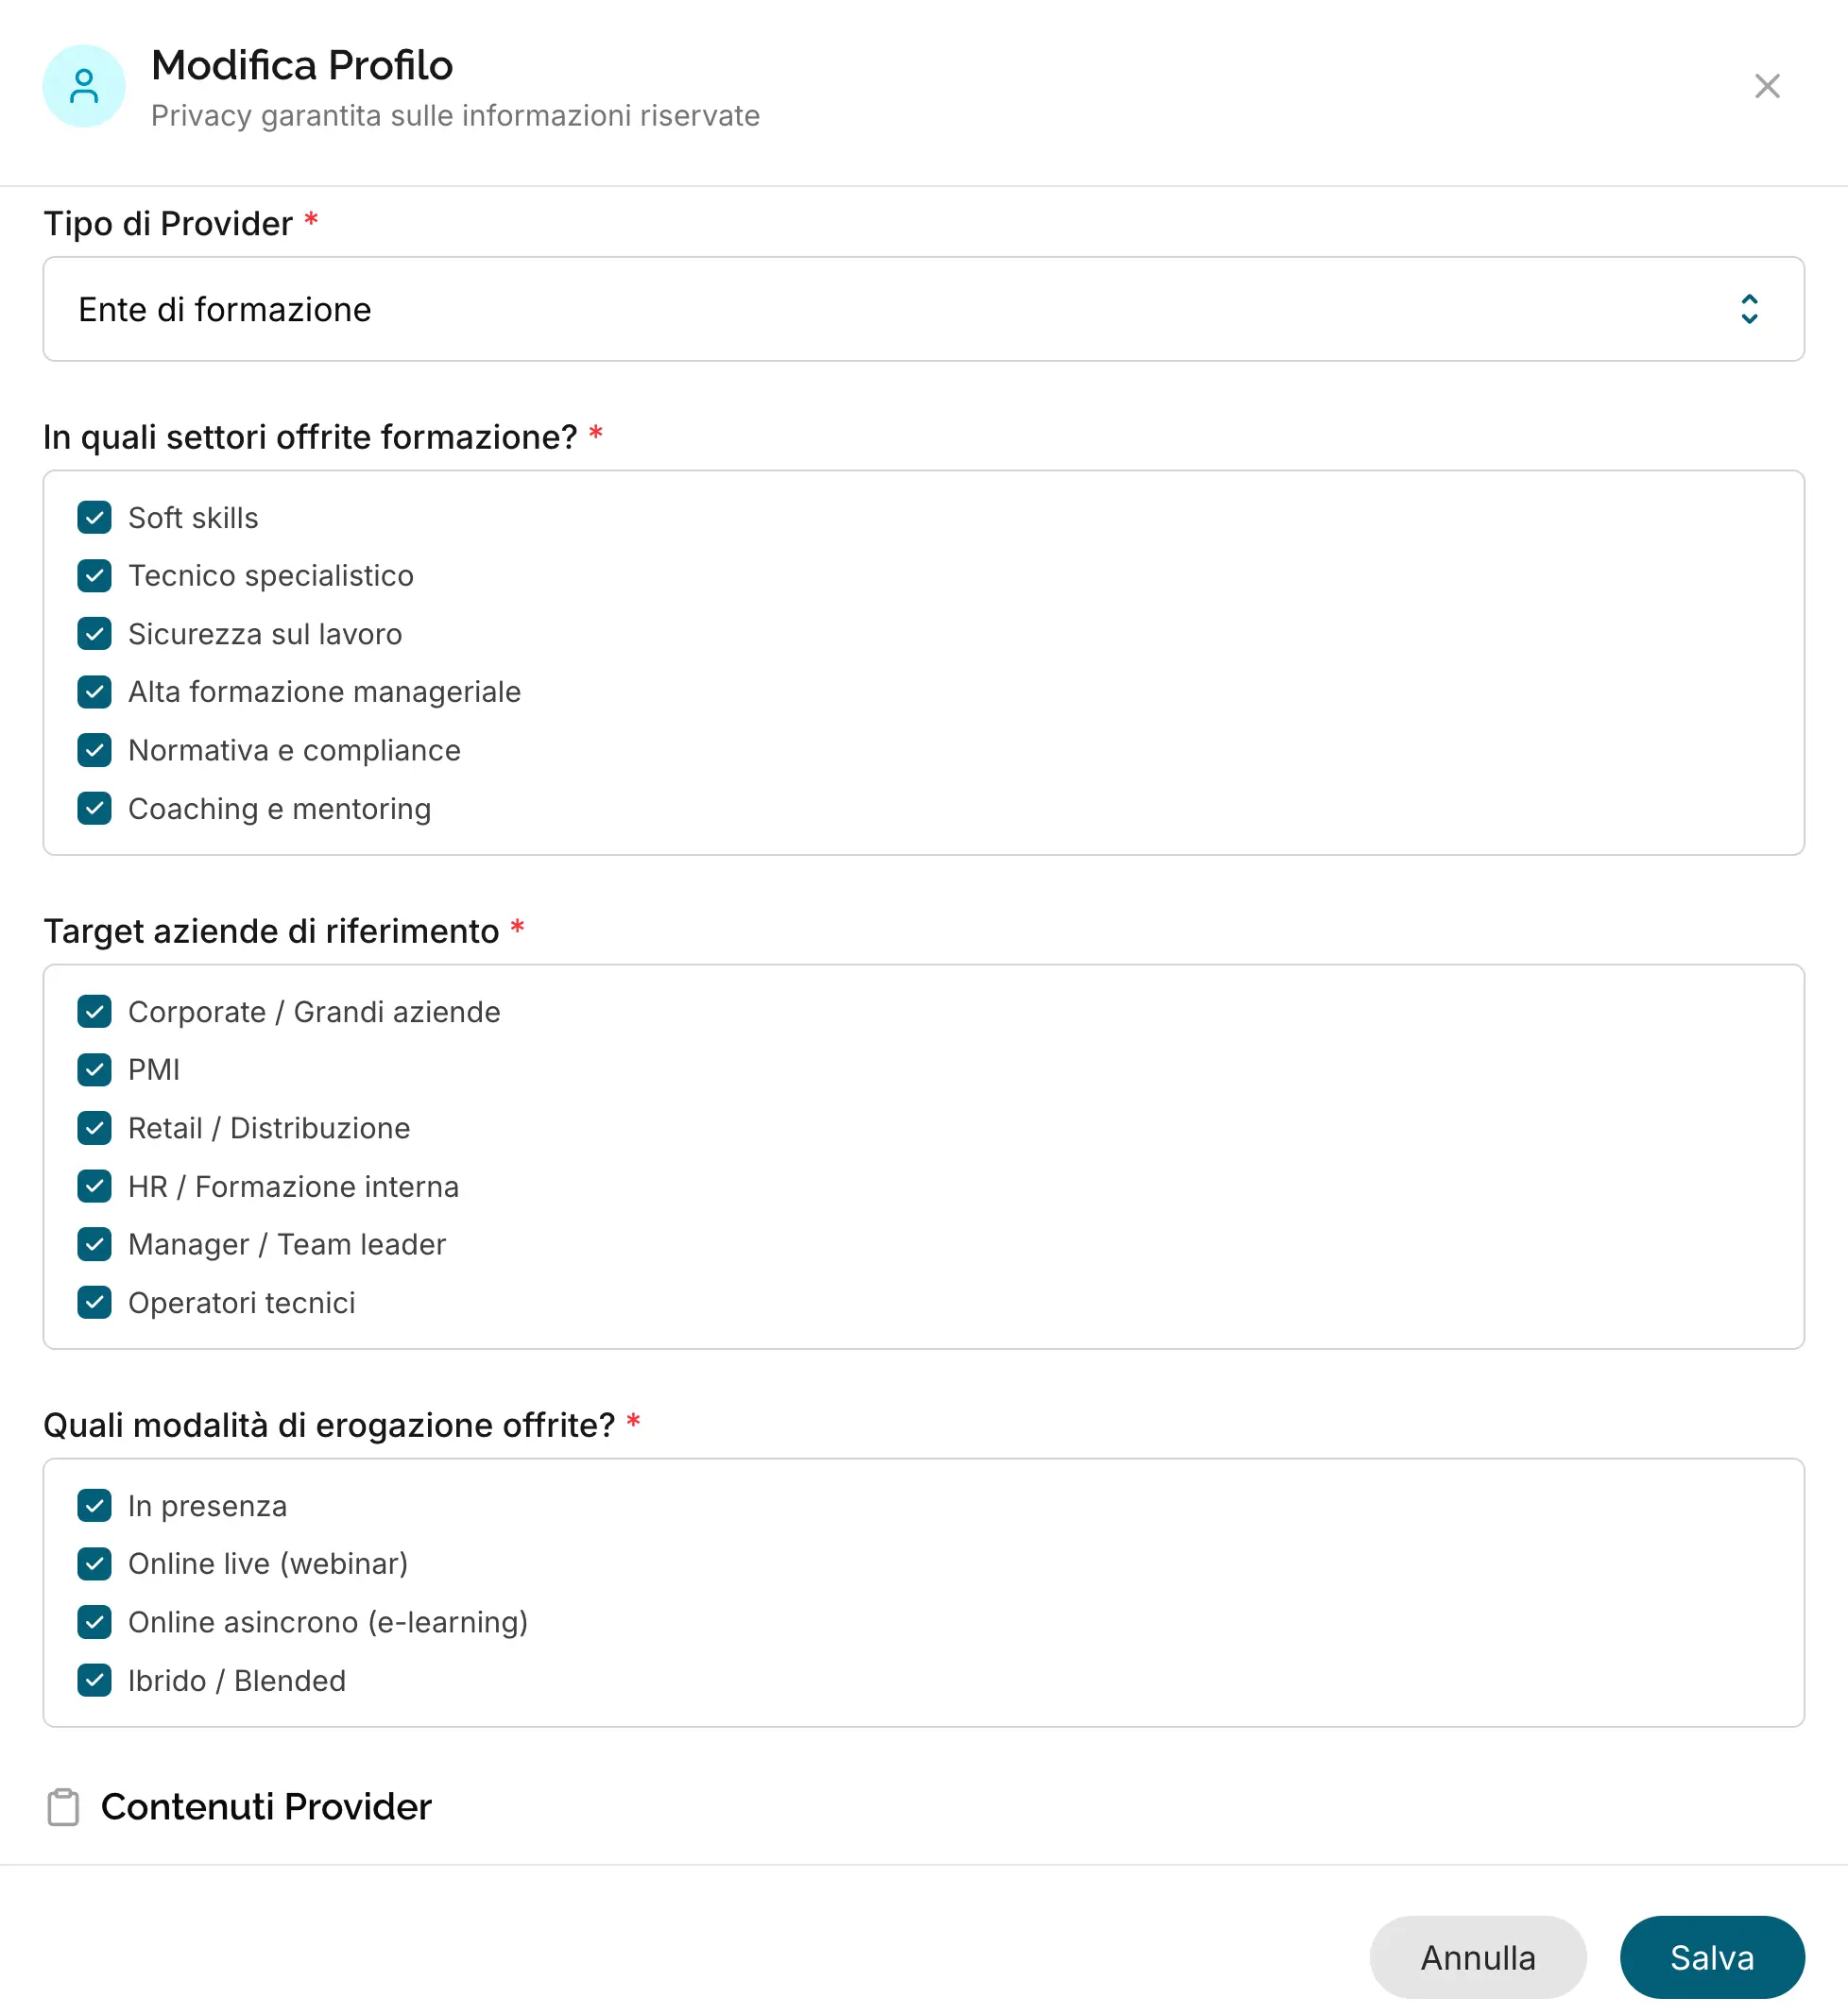
Step 3: Complete the main information
Fill in the main fields of your profile:
- Type of provider
- Training sectors offered
- Target companies
- Delivery methods offered
- Cover image
- Logo
- Tagline
- About us
- Why we are on Tableda
- Certifications and Accreditations (Optional)
- Who we’ve worked with (Optional)
- Operational locations
- Who we work with
- Available to join public matching and respond to company requests?
- Show this profile in the Tableda showcase? (Only if at least 1 course is published)
- Privacy
Step 4: Save your changes
After filling in all fields, click “Save” to confirm your updates.
Tip
Be sure to complete every field carefully: some fields have minimum and maximum character limits. This ensures your profile is complete and ready to publish your courses on Tableda.