Step 1: Open the registration form
- On the Tableda website, click the “Provider Registration” button at the top.
- The registration form will open.
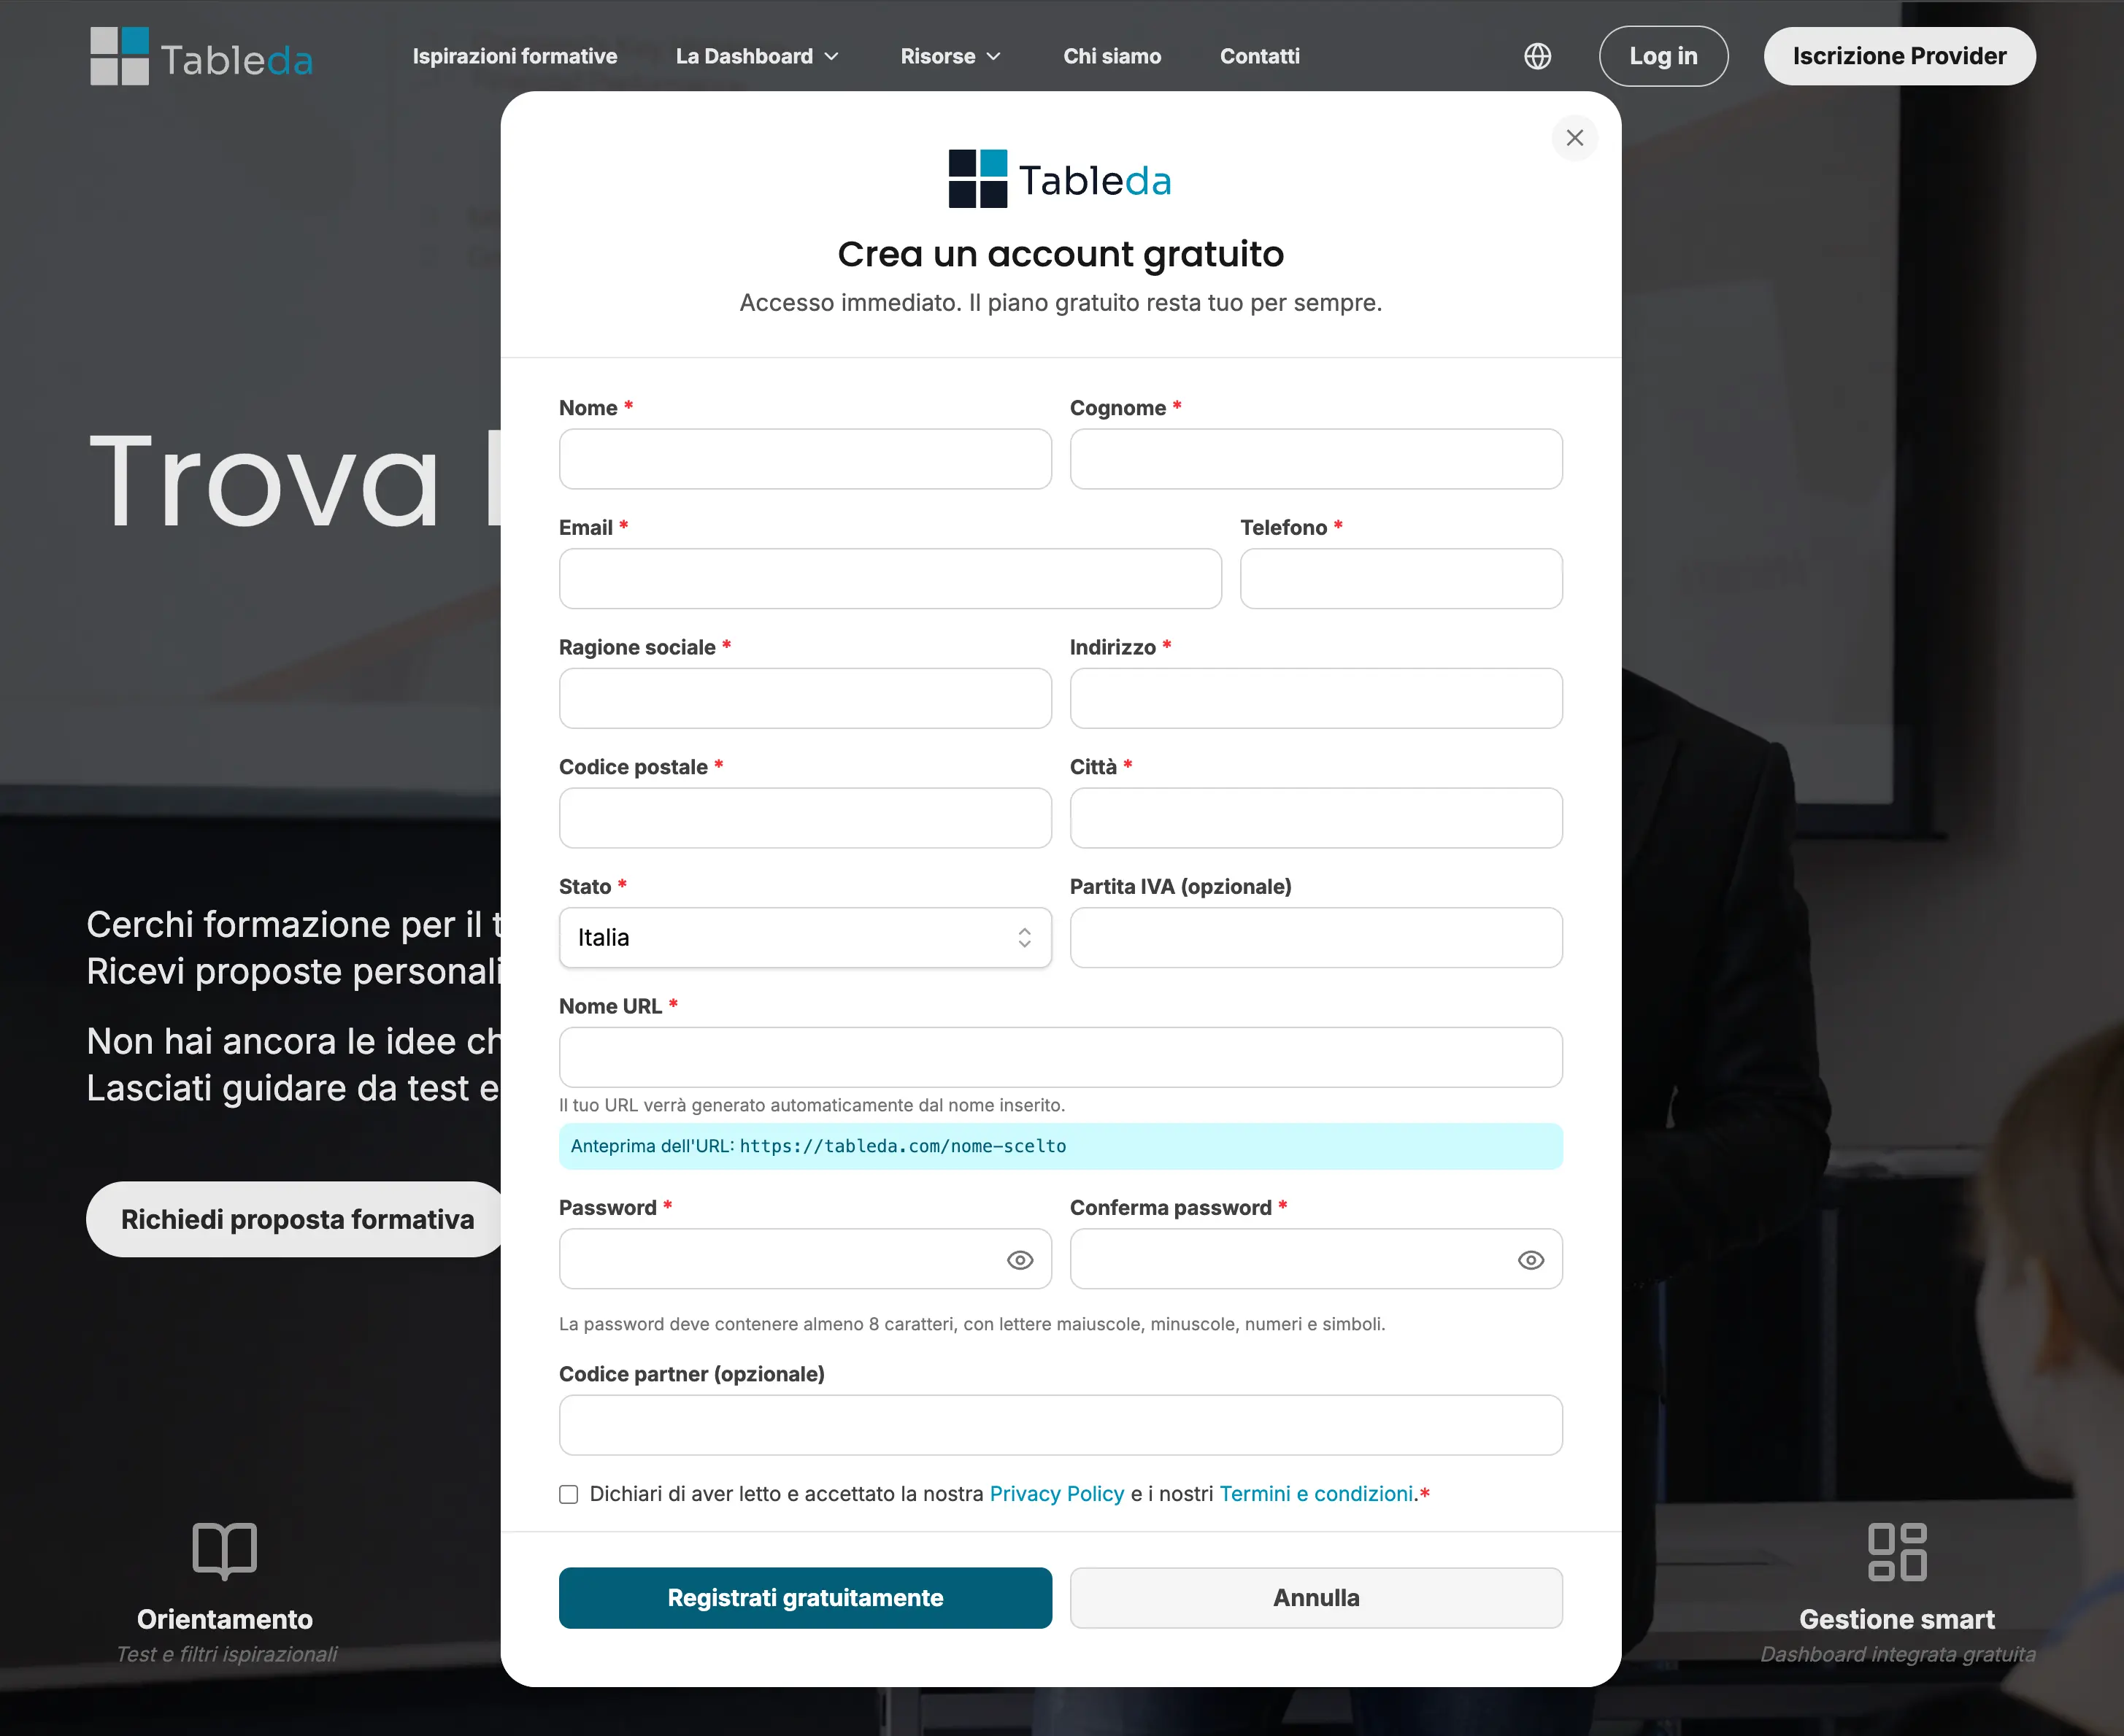
Step 2: Fill in the required information
In the registration form, enter all the necessary details:
- Name of your organization
- Contact email (used also to access your dashboard)
- Secure password
- Personalized URL → this field creates your public web address on Tableda.
Write only the name of your organization, without spaces or symbols.
Do not include“https://”or“www”— they’ll be added automatically.
Correct example: if you writeformazionemilano, your link will be tableda.com/formazionemilano.
Incorrect example: writinghttpsformazionemilanoitorwwwformazionemilanoitis not correct. - Main language of the profile
Once all fields are completed, click “Register for free”.
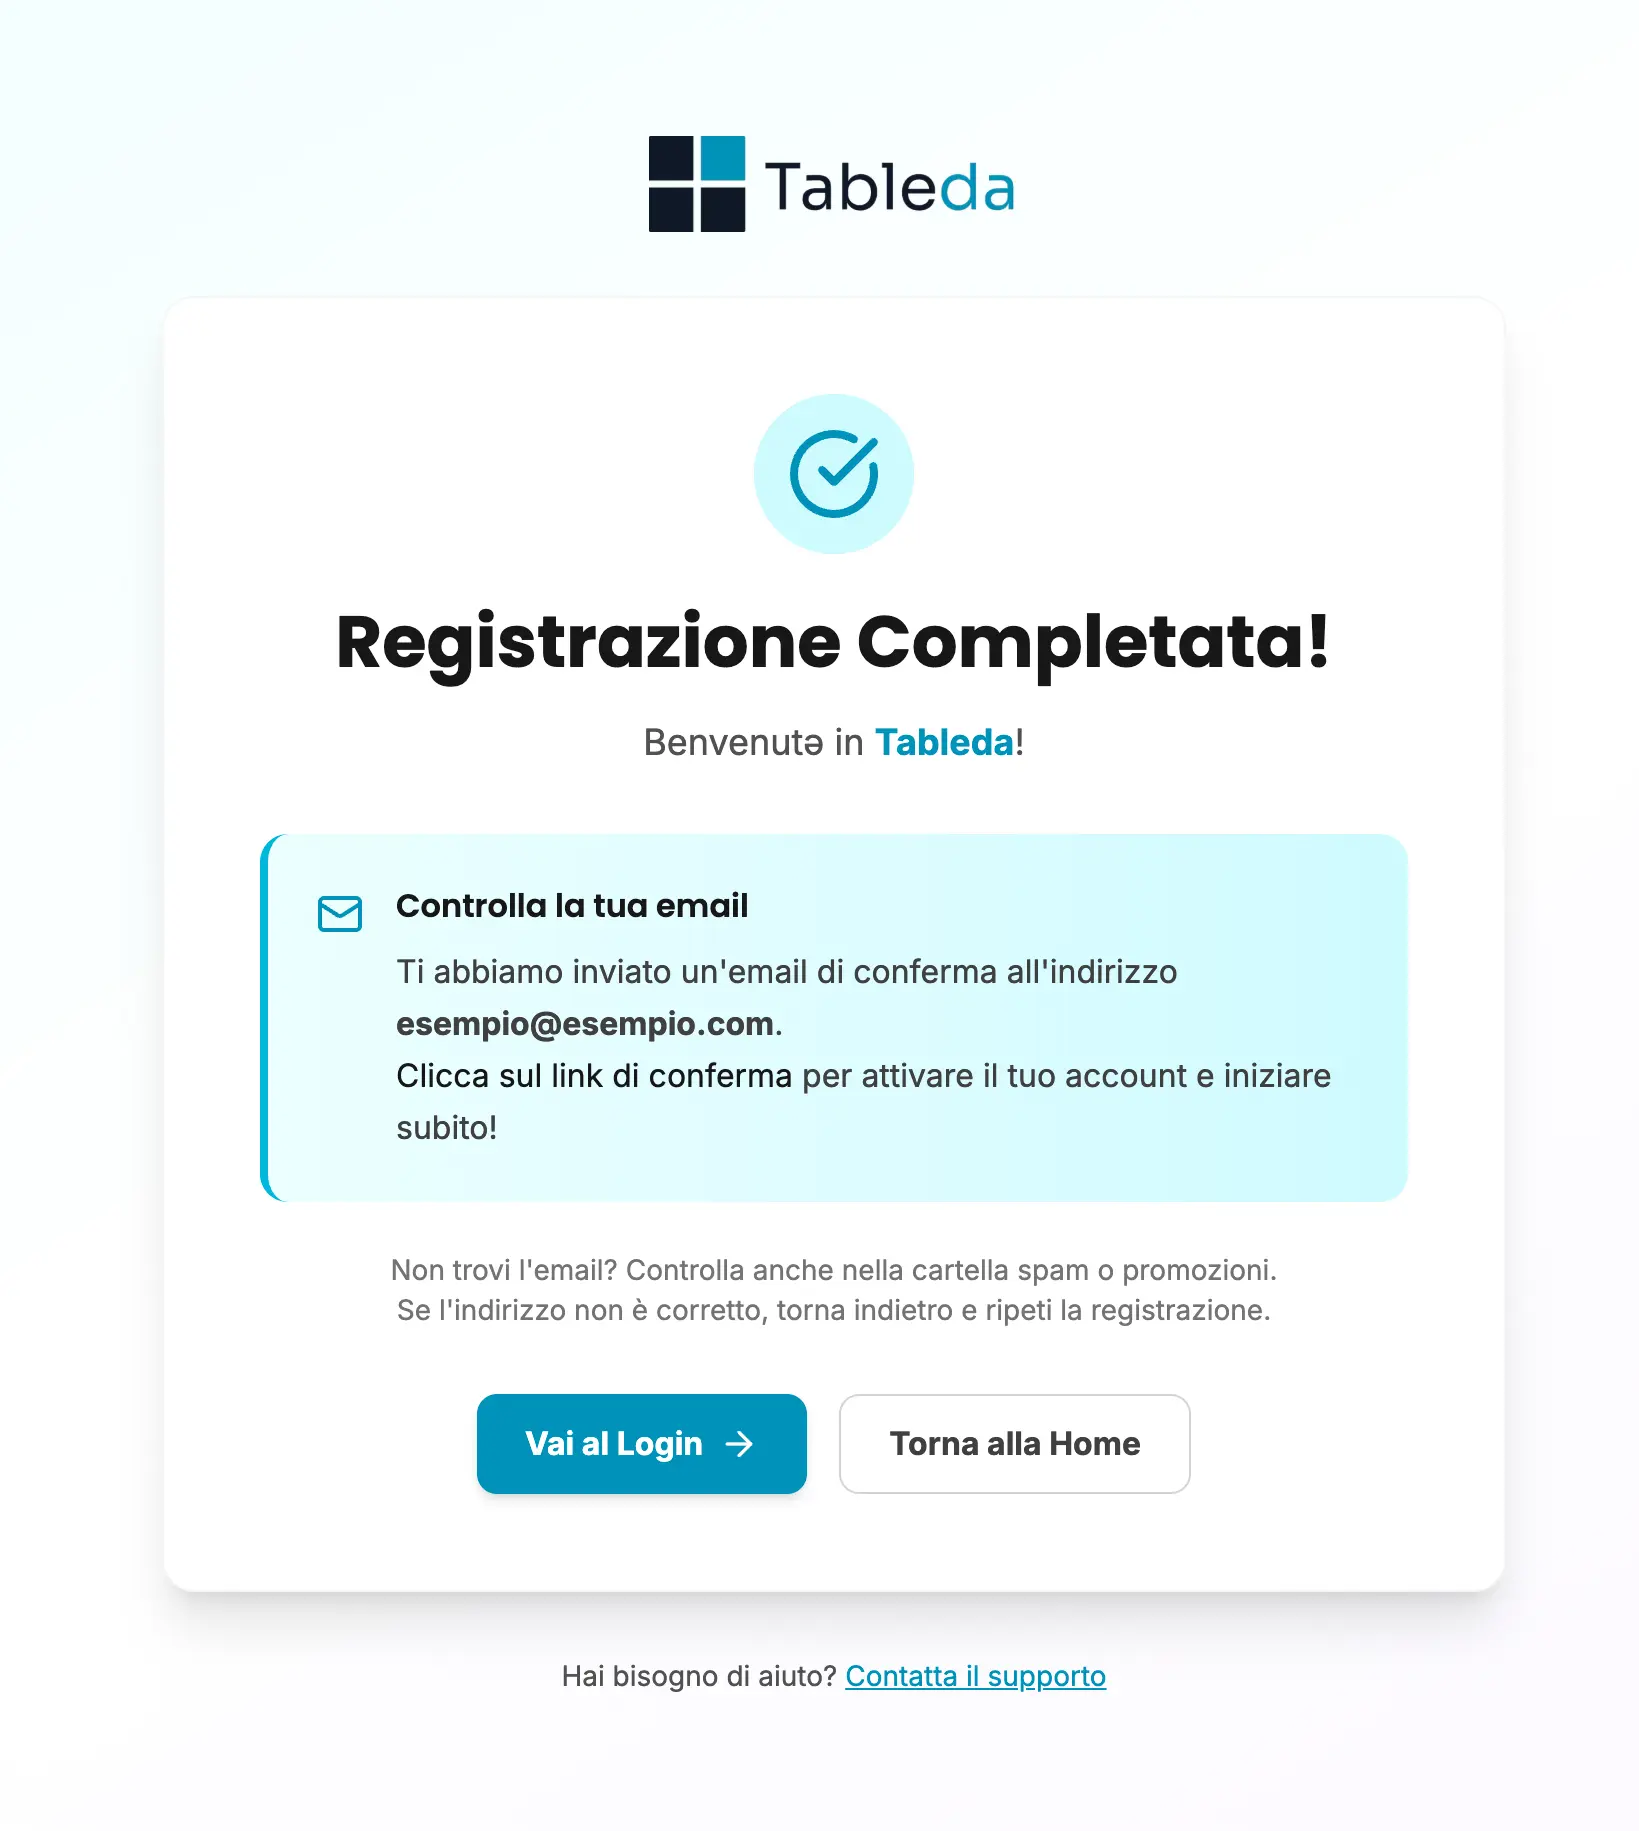
Step 3: Confirm your activation email
After submitting the form, you will receive a confirmation email from Tableda at the address you entered.
Check your Spam or Promotions folder if you don’t see it right away.
Open the email and click “Confirm your email” to activate your account.
Only after this confirmation will you be able to access your dashboard.